


 Facebook
 Instagram


How to Install Wooden Stairs?
-
Posted by
Stairs Sowosz
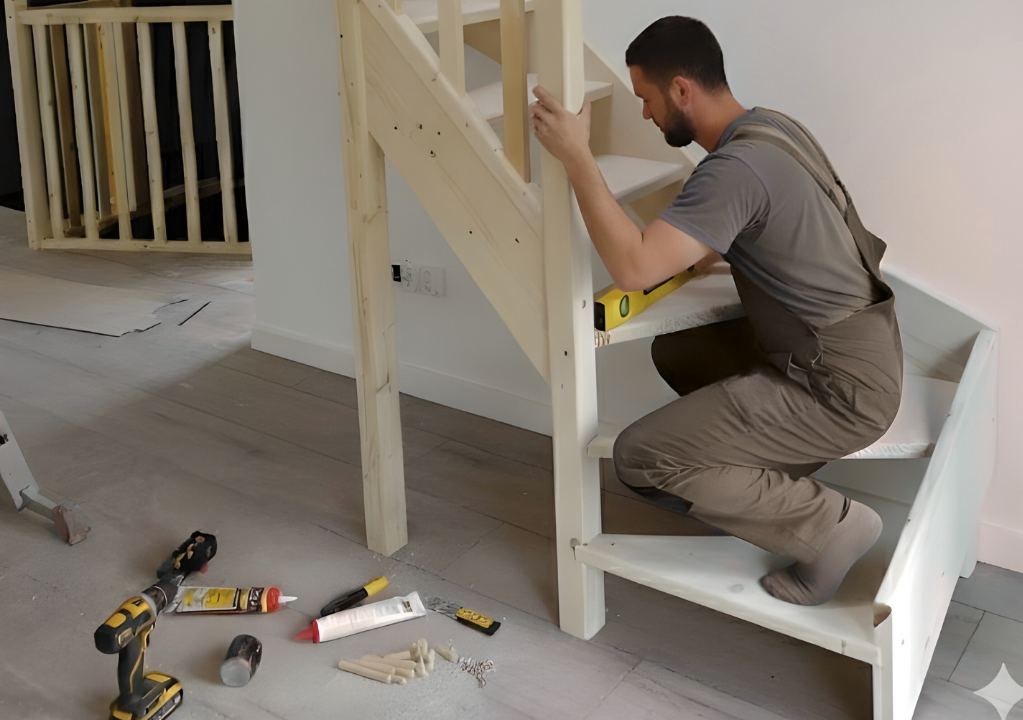
You’ve already chosen your ideal stairs for your house or apartment. They are exactly the style and colour you dreamed of. Your order is on its way, or maybe you’ve already received it — so now all that’s left is installing the wooden stairs and finally being able to use them. How do you install wooden stairs? Is it worth doing it yourself or better to hire a professional installation service? Here’s what you should know about it.
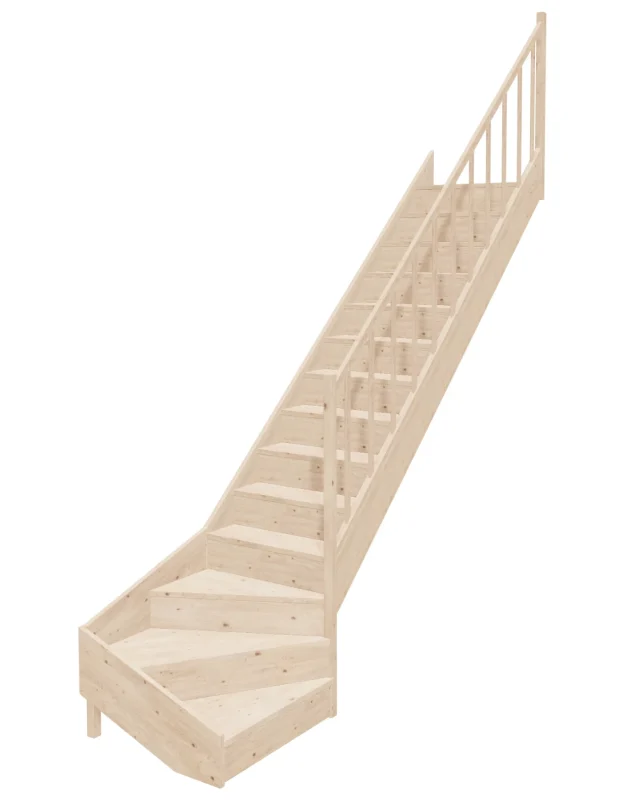
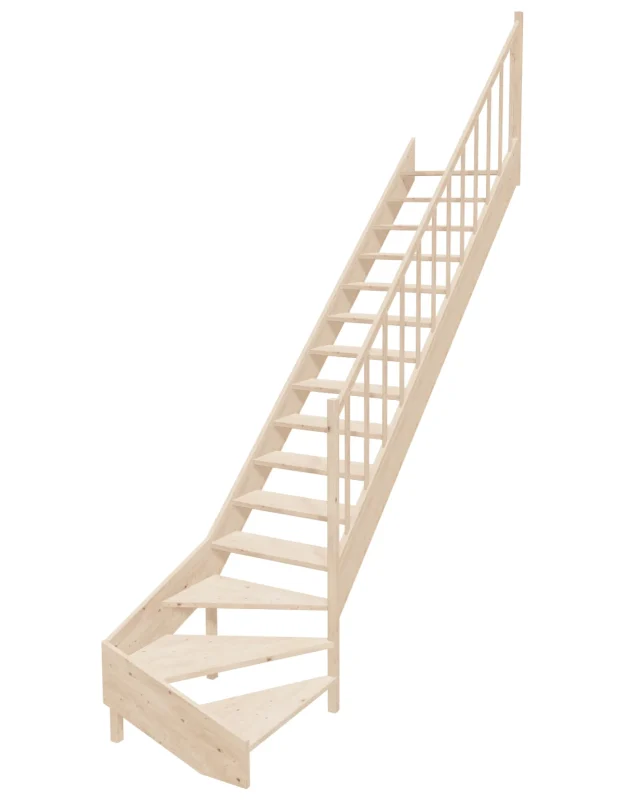
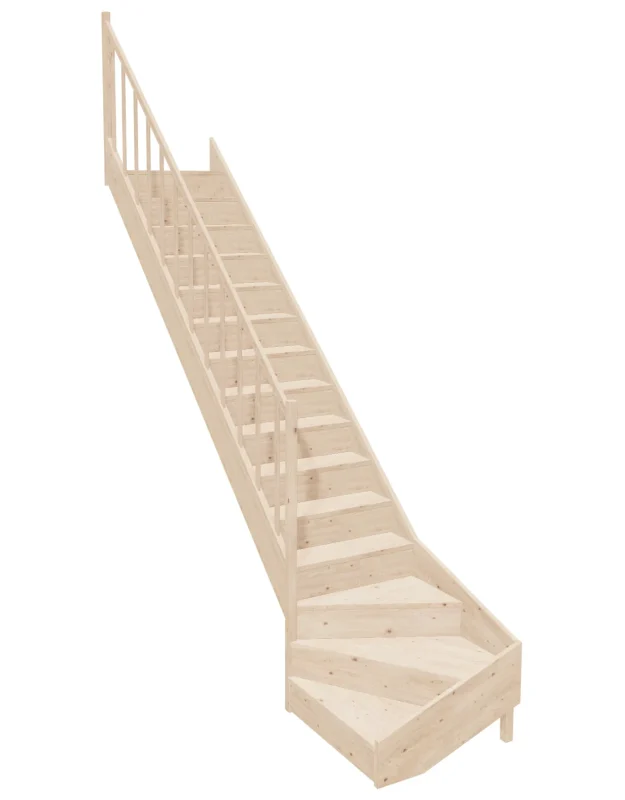
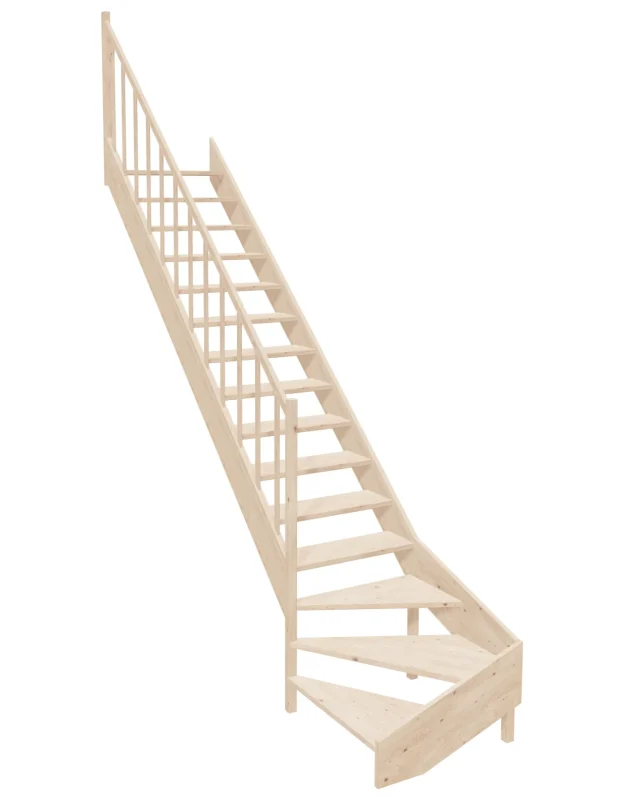
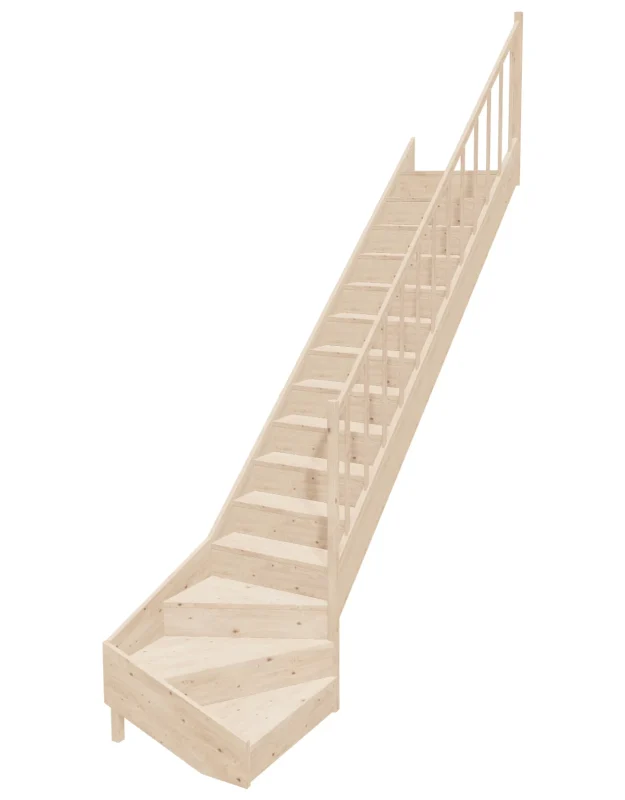
Installing Wooden Stairs
Exactly how the installation of wooden stairs will proceed depends on the type of construction. Are we dealing with a concrete base to which boards will be attached (so-called wood cladding), or are they self-supporting wooden stairs which — as the name suggests — are load-bearing on their own?
Here’s how the installation of wooden stairs goes step by step when you already have a prepared concrete structure:
- Prepare the base. Level it and make sure it’s dry and stable. If you’re installing stairs in a new house, make sure the screeds aren’t too damp.
- Prepare mounting elements: steps (treads), risers, screws, glue, etc.
- Mark the installation lines – it’s best to use a laser level to keep perfect horizontals and verticals.
- Glue the risers and treads – the elements are attached directly to the concrete using special adhesive. Leave a small gap for expansion between the wall and wood.
- Balustrade – once all elements are glued, install the handrail and balustrade.
- Finishing the stairs: sanding and lacquering. Detailed guidance on how to finish wooden stairs can be found on our blog.
Finally, make sure no step creaks and that the entire structure is stable.
Featured Products
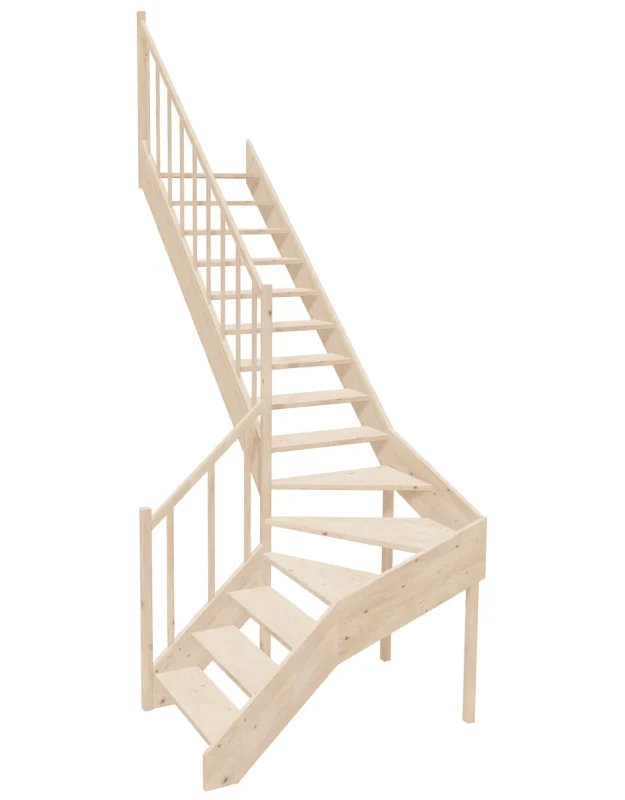
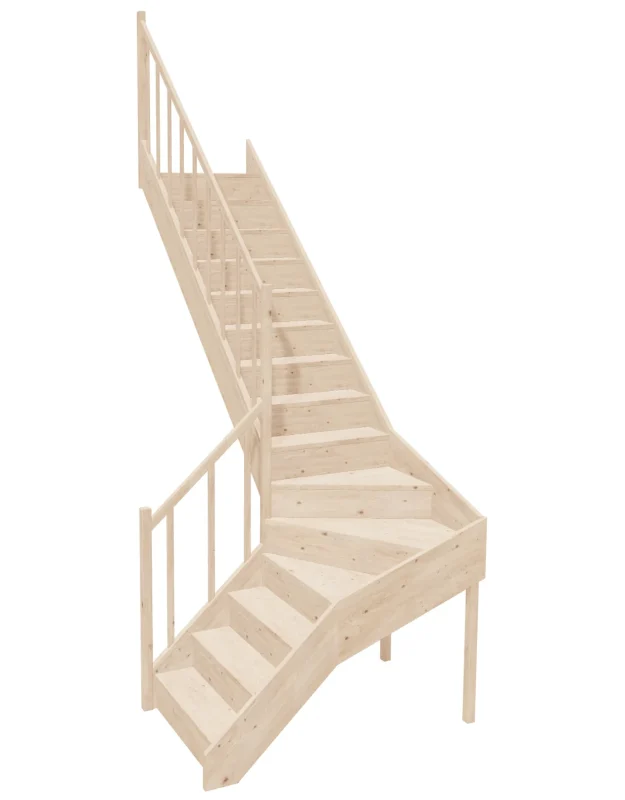
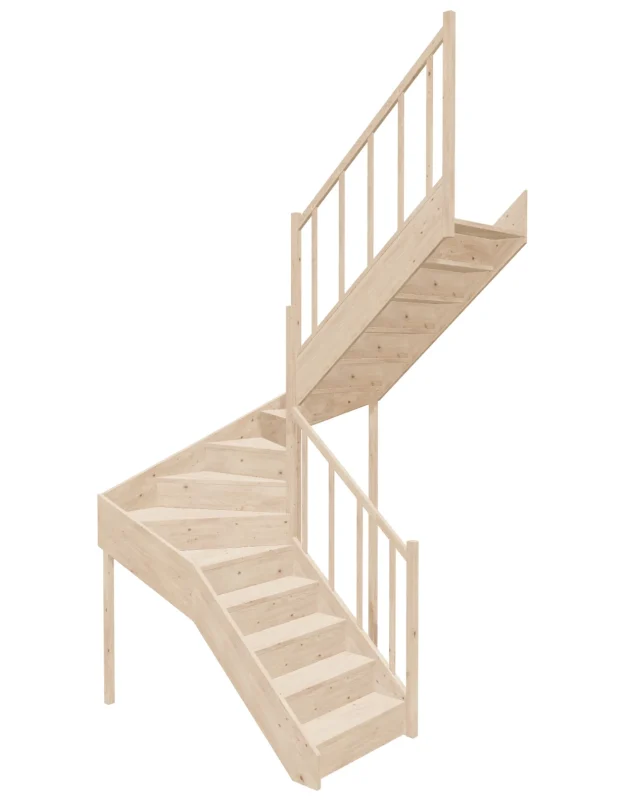
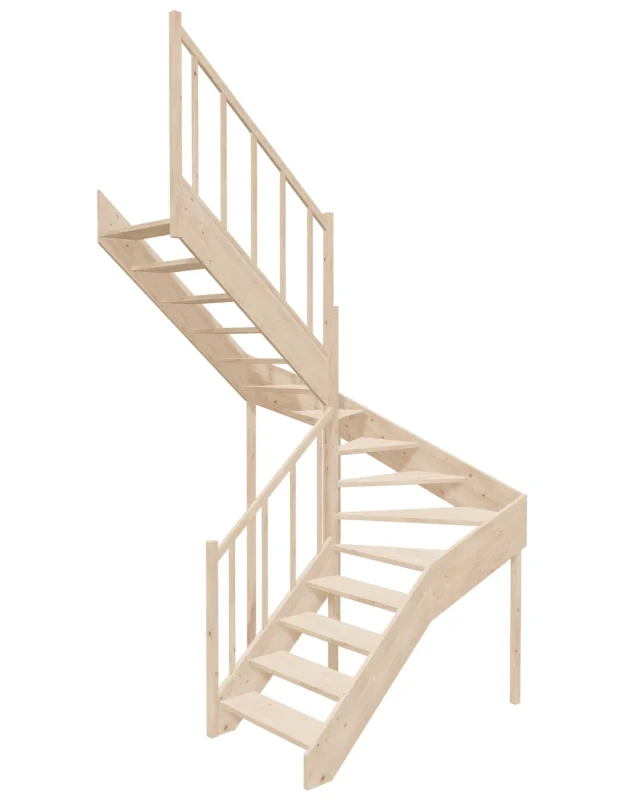
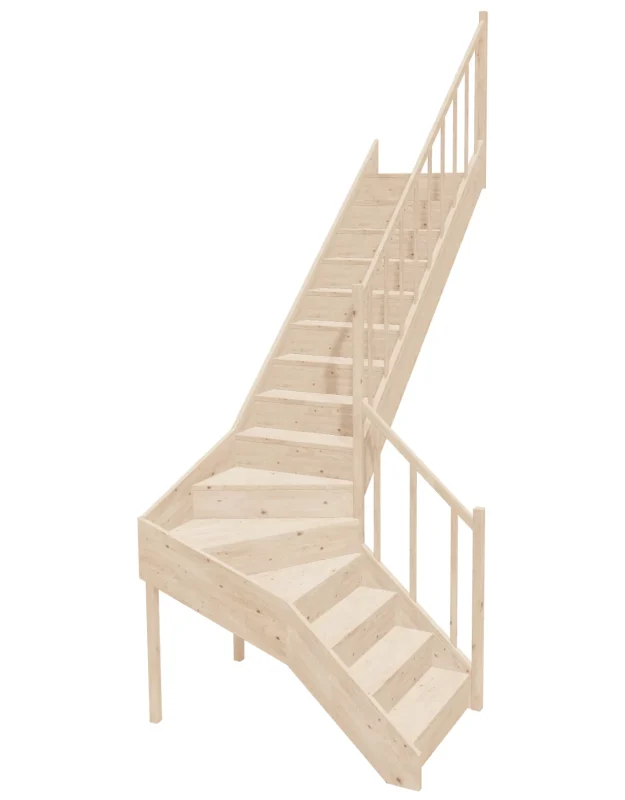
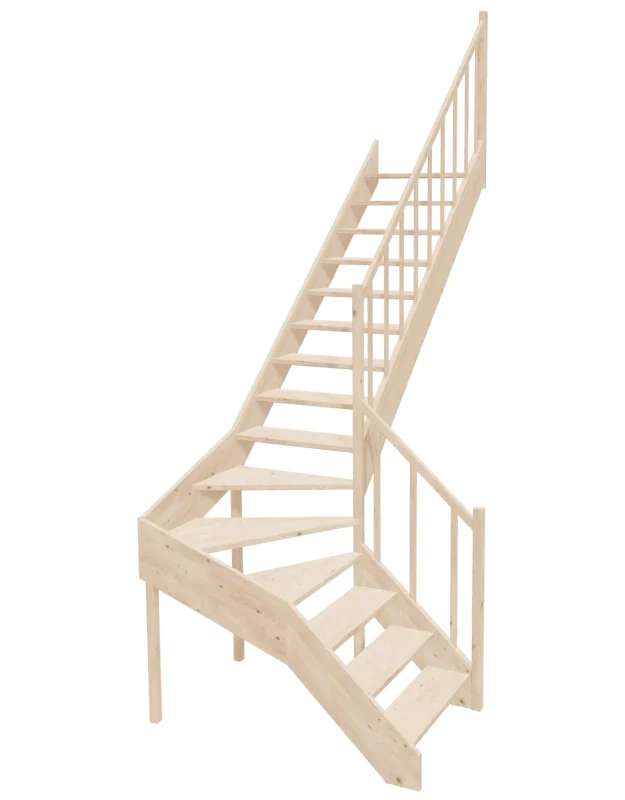
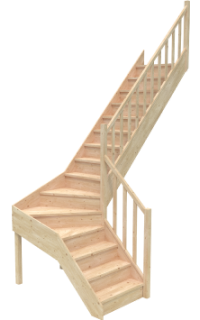
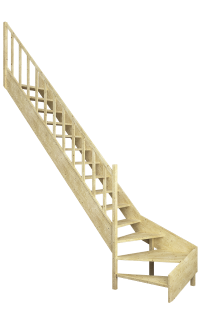
Installing Self-Supporting Wooden Stairs
Self-supporting stairs are installed a bit differently because they don’t rely on a concrete frame. Here are the key differences:
- The stringers (side beams that form the load-bearing frame) have routed grooves where the steps are inserted.
- Useful tools include: a drill, rubber mallet, spirit level, and square.
- The load-bearing structure must be attached securely to the floor and ceiling with anchors or screws — make sure it’s stable.
- Installing the steps here involves sliding them into the grooves in the stringers. Additionally, glue is used in the joints to avoid creaking.
- Accurate measurements are extremely important — to avoid installation problems, check all dimensions carefully before placing your order.
How Much Does Stair Installation Cost?
The cost of installing wooden stairs usually depends on several factors:
- The type of stairs (e.g., installing straight wooden stairs costs less than winder stairs and installing self-supporting stairs is cheaper than applying wood cladding to a concrete structure).
- The complexity of the stairs (installing extra elements such as balustrades, LED lighting, finishing trims will cost more).
- Any special effects or finishes you want (e.g., brushed effect or other unusual finishes).
What if installing wooden stairs didn’t cost anything? What if the process was so intuitive that you could handle it on your own, without hiring a professional team—saving money in the process and increasing your sense of satisfaction from a job well done?
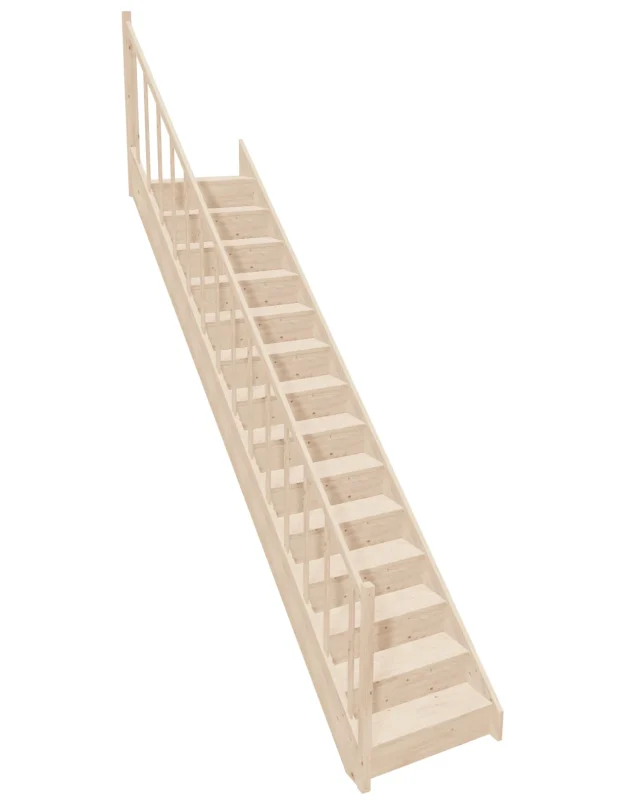
In SOWOSZ we offer, among others, ready-to-assemble wooden spruce stairs. A clear instruction manual on how to install wooden stairs step by step and a set of dowels and screws to connect the elements together are included with the product.
What else will you need?
- Wood glue (for example, Wikol);
- Mounting elements to fix the wooden stairs to the floor, ceiling, and walls (screws, anchors, brackets);
- Wood lacquer to protect the material from mechanical damage. In a separate article on their blog you can read about what is best to use to finish wooden stairs.
Remember to follow the instructions carefully, don’t rush, and after receiving the wooden stairs check that your order is complete.
